> ## Documentation Index
> Fetch the complete documentation index at: https://docs-staging-quickstart-revamp.mintlify.site/llms.txt
> Use this file to discover all available pages before exploring further.
> Integrating Auth0 into your Vercel application
# Integrate with Vercel
## Overview
Connect a new or existing Auth0 instance to your Vercel project to enhance your app's security, scalability, and customization using the [Auth0 Integration](https://vercel.com/integrations/auth0). This integration allows you to implement a streamlined customer identity approach directly in your application.
Use the new integration to build and customize the identity flow for your Vercel project. To get your app up and running quickly and securely, this integration:
* Sets up a production environment in Vercel that integrates with your Auth0 tenant in just a few clicks.
* Automatically creates an Application in your Auth0 tenant that connects with your Vercel project.
* Pre-loads your Auth0 credentials into Vercel, allowing you to skip some of the manual steps in this process.
### Prerequisites
To begin integrating Auth0 into your Vercel project, there are a few requirements that you'll need to set up before getting started:
* A Vercel account with a project that you would like to integrate with. To create a Vercel account if you don't already have one, visit [Create your Vercel account](https://vercel.com/signup) to get started.
* A Next.js application based on the latest [Auth0 Next.js SDK](/docs/quickstart/webapp/nextjs#install-the-auth0-next-js-sdk).
## Add a Vercel integration
To add the Auth0 integration to an existing Vercel project:
1. Navigate to the [Auth0 integration page](https://vercel.com/integrations/auth0).
2. When prompted with the installation window, select the Vercel team and project which you would like to install the Auth0 integration.
We currently only offer integration to one project at a time. Selecting **All projects** will defer the project selection screen until later in the workflow.
3. Select **Install** to proceed with the installation to your Auth0 integration portal.
4. Verify that you are logged-in with the correct Auth0 account and you are integrating to the correct Tenant dashboard.
Either log into Auth0 **or** verify that you are logged in with the correct Auth0 account and you are integrating to the correct Tenant dashboard.
* If no Tenant is selected, you’ll be redirected to create a tenant.
* If you’re creating a new tenant, you’ll go through our standard onboarding.
* If you’re new to Auth0, this is where you’ll create an Auth0 account.
5. Select **Accept**.
6. Next, select the Vercel project that you would like to integrate with Auth0 and select **Continue**.
7. Confirm the application selection, and select **Continue**.
8. You have now successfully added the Auth0 integration to your Vercel project. To view installed integrations, navigate to the **Integrations** tab on your project overview page. Auth0 now appears as an installed integration for your project.
## Manage a Vercel Integration
After you have successfully integrated the Auth0 integration to your Vercel project, you can manage the integration from your application dashboard in Vercel.
### Manage from Vercel
To manage the Auth0 application from your Vercel dashboard, select the Auth0 integration from the **Integration** tab of your project.
The environment variables are only configurable at the production domain.
#### Manage access
To manage the integration access to specific projects in your Vercel application, select **Manage Access.** This provides you with a project-level access restriction for the Auth0 integration.
#### Remove integration
To uninstall the Auth0 integration, select **Remove integration** and the application and all associated settings will be removed from your Auth0 dashboard. Note that this is not reversible, and if removed you must reinstall the application.
### Manage from the Auth0 Dashboard
After adding the Auth0 integration to your Vercel project, the [Auth0 dashboard](https://manage.auth0.com/) creates a new Application to manage and customize your CIAM workflow.
1. Navigate to the [Auth0 dashboard](https://manage.auth0.com/).
2. Select **Applications > Applications > \[Your Vercel application]**
3. Confirm the Vercel application URI under **Settings > Application URIs.**
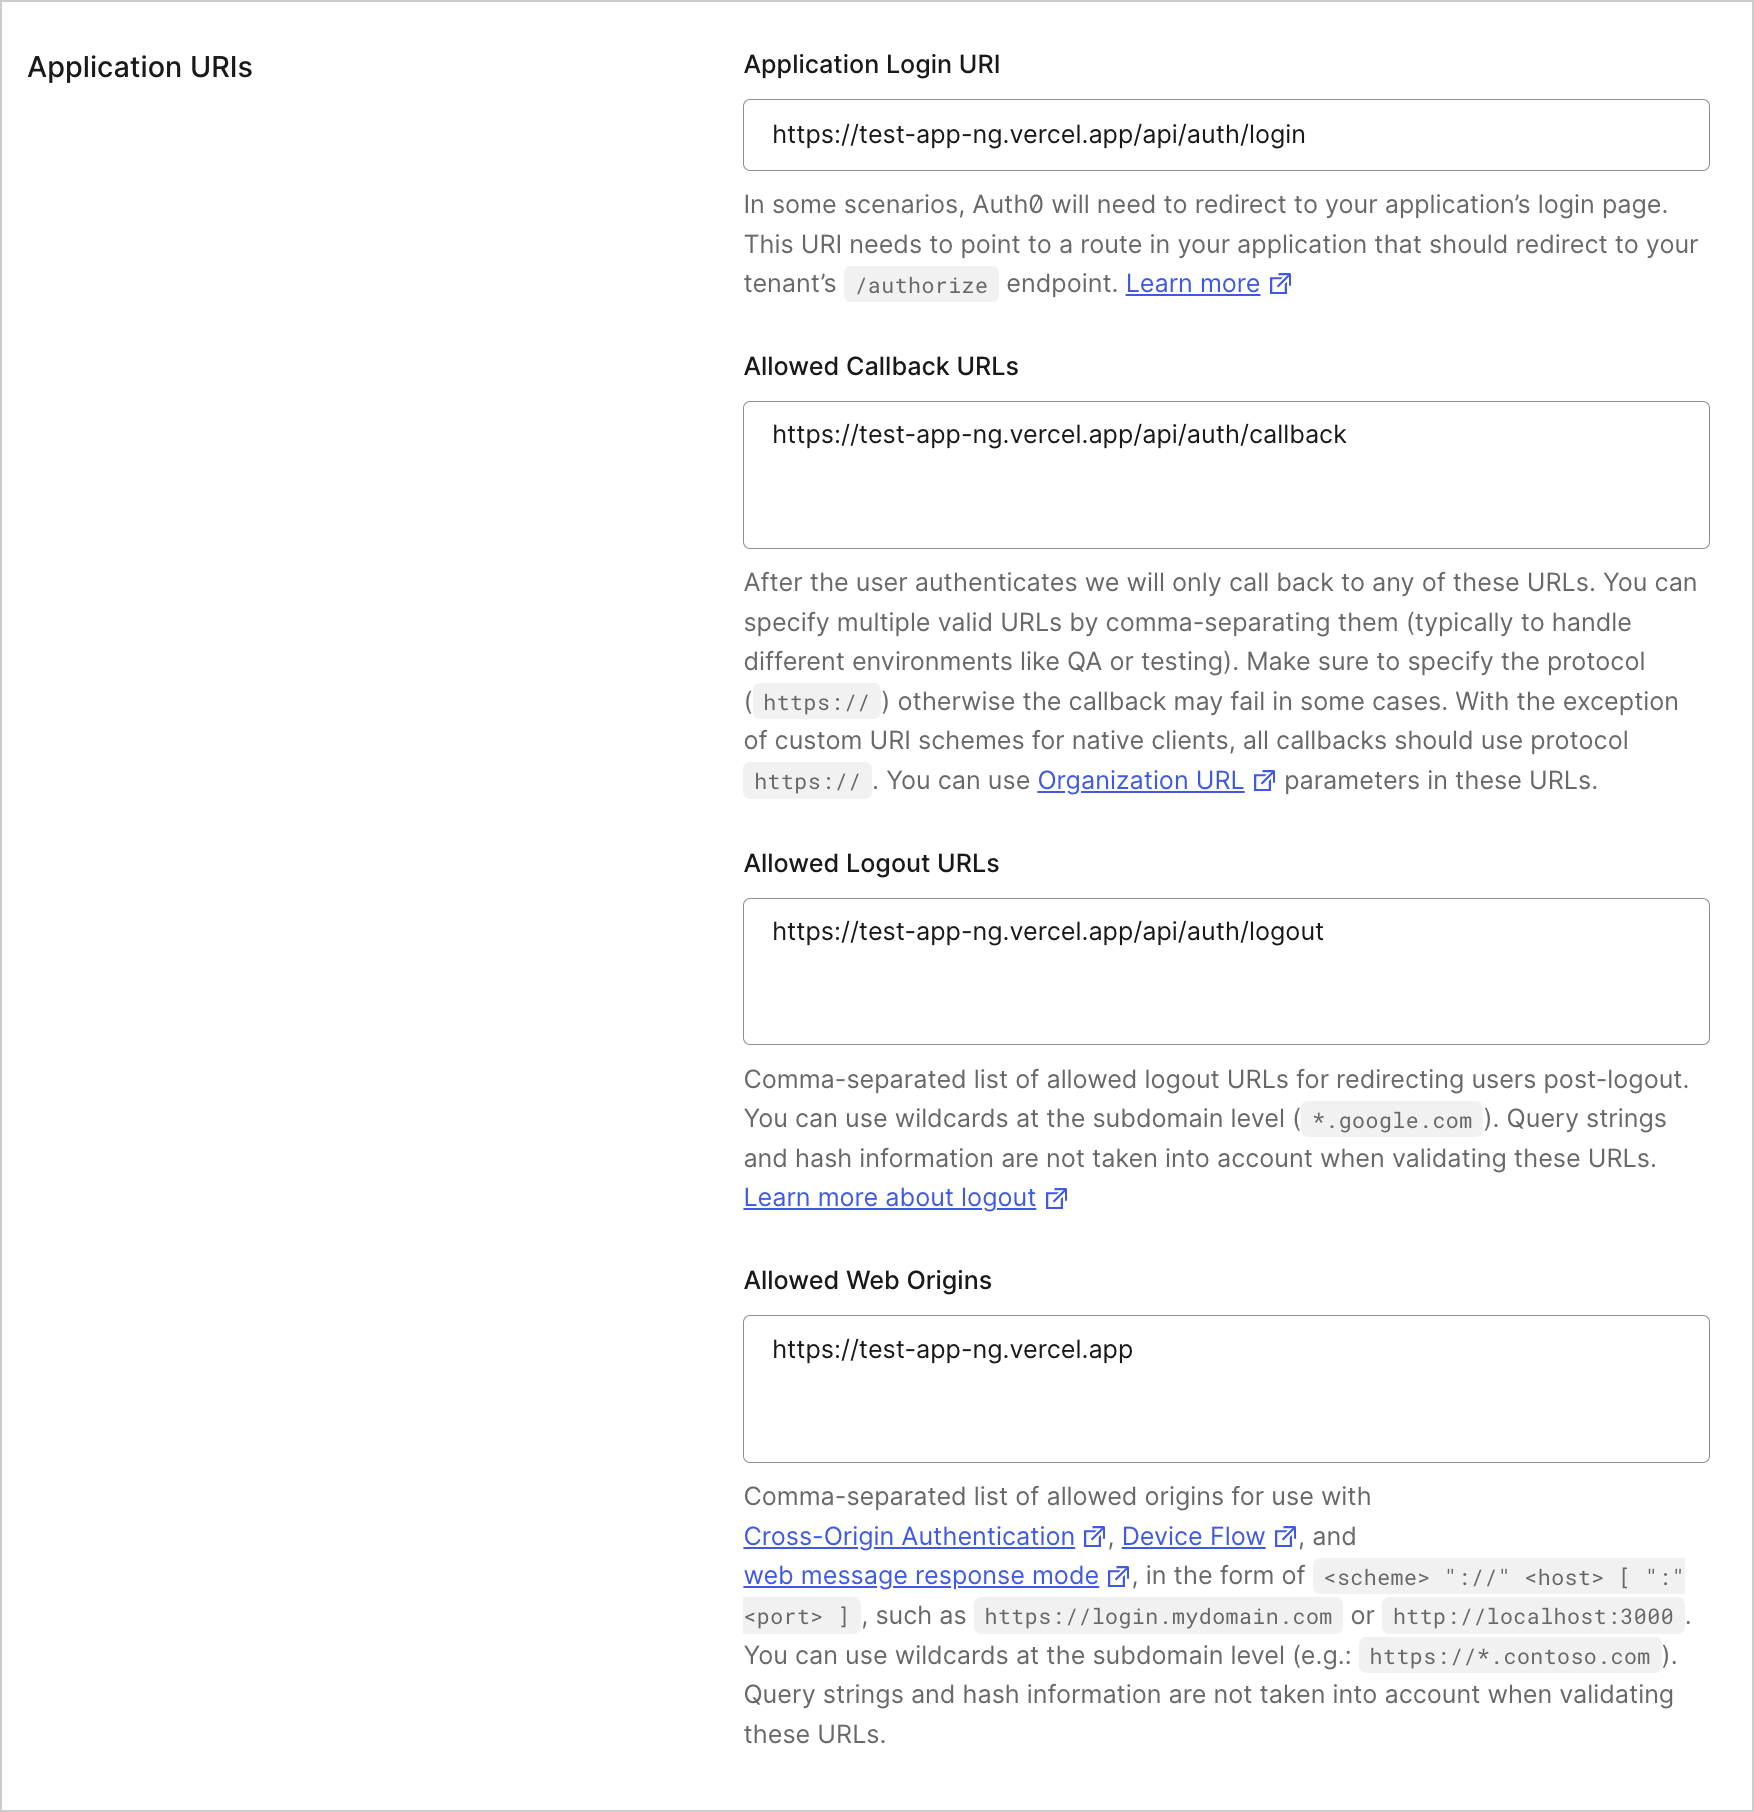 4. You can now customize and modify this application similar to any other application in your Auth0 dashboard.